Fix
The six-step repair, in order
One sequence covers all four fault types. Work down it and stop at the step where the symptom disappears — the rest is prevention.
WEAR GLOVES · VENTILATE · DON'T MIX CHEMICALSOpen a window. One product at a time. Never reach into a drain you cannot see the bottom of.
Before you start
Ten minutes, one kettle, one plastic hook, one pair of gloves. If a step needs more than that, it is a plumber job.
What this guide is not
It is not a substitute for your drain manufacturer. If the body is sealed or the trap is cast into the slab, stop and call someone.
-
STEP 1
Identify the type
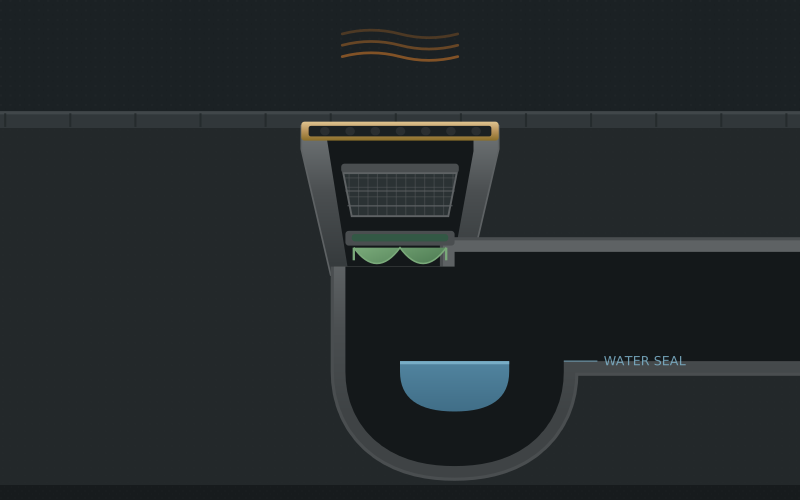
Smell only? Water seal. Slow? Hair. Standing? Trap arm.
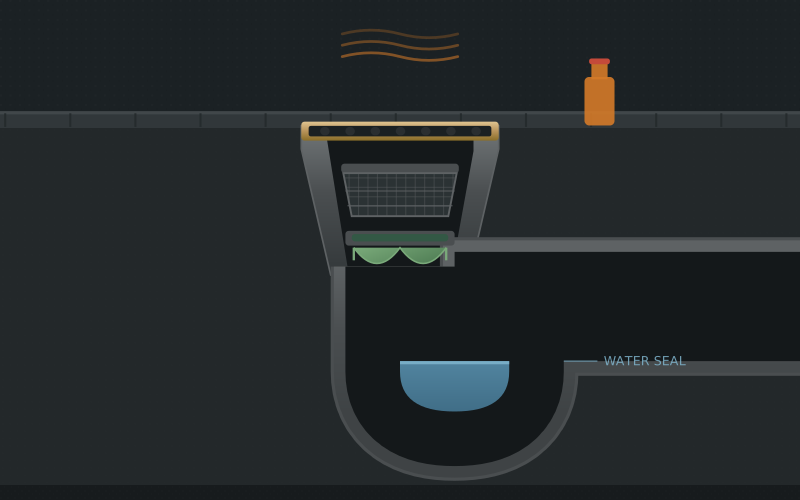 DON'T
Don't treat a smell with a drain chemical.
-
STEP 2
Lift the cover
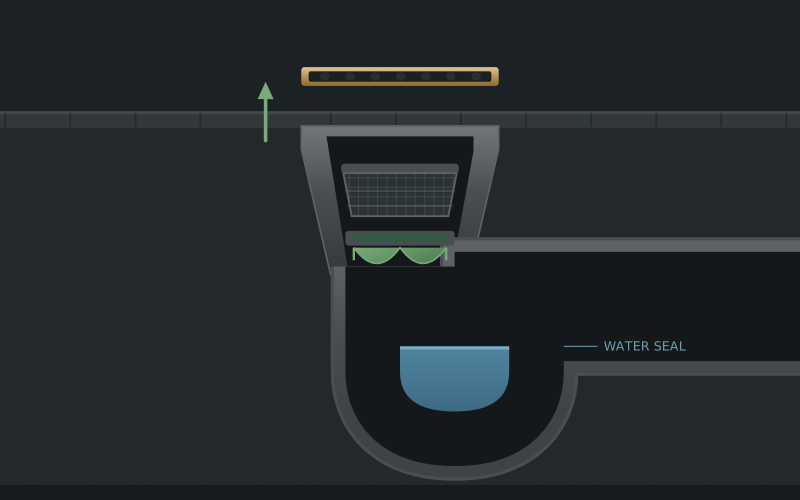
Straight up, no tools. Put it somewhere it cannot fall.
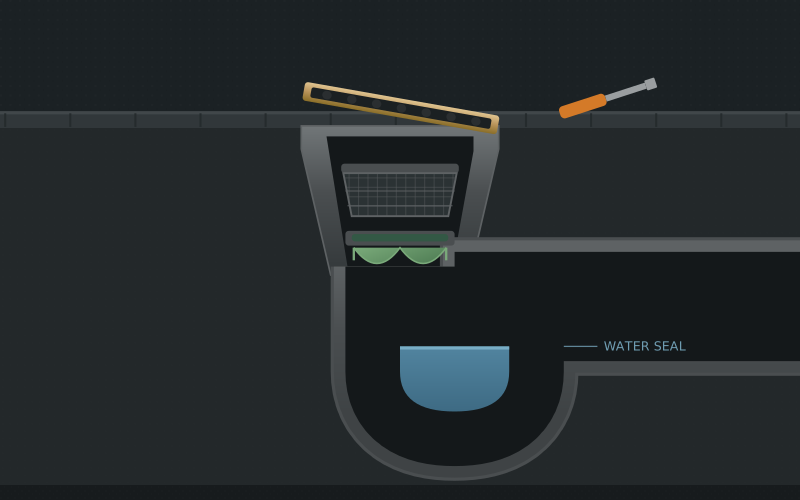 DON'T
Don't lever it with a screwdriver — you crack the recess.
-
STEP 3
Clear the filter
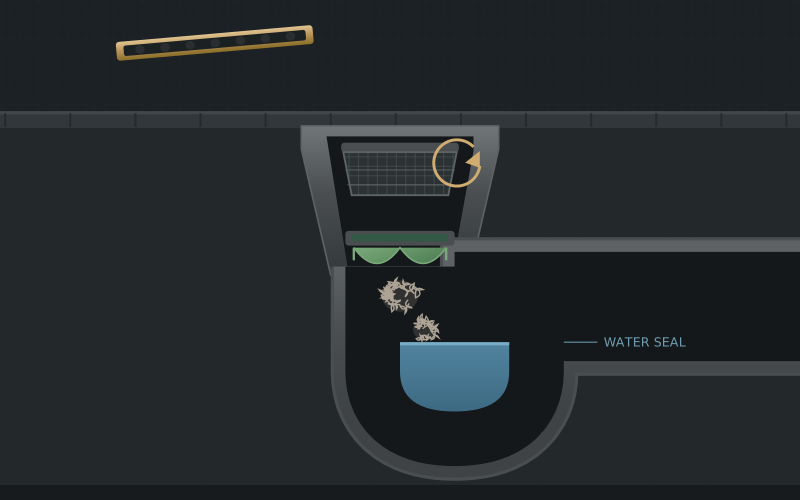
Twist counter-clockwise, lift, and hook the hair out.
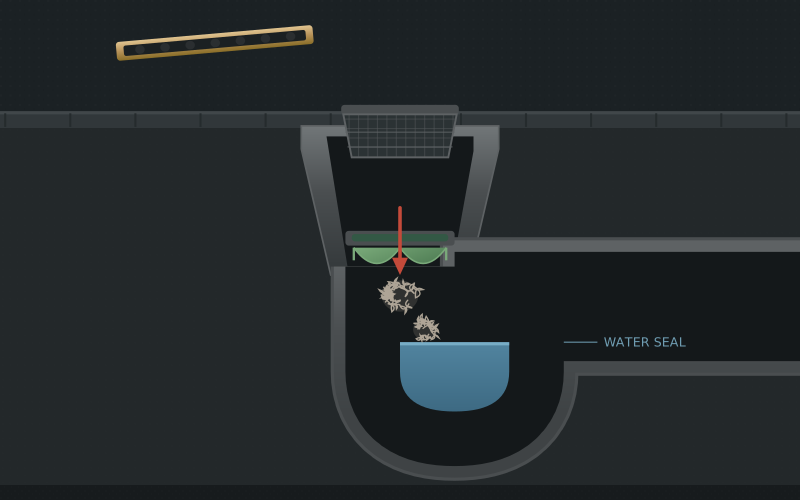 DON'T
Don't push the hair down. Hook it up and out.
-
STEP 4
Check the seal
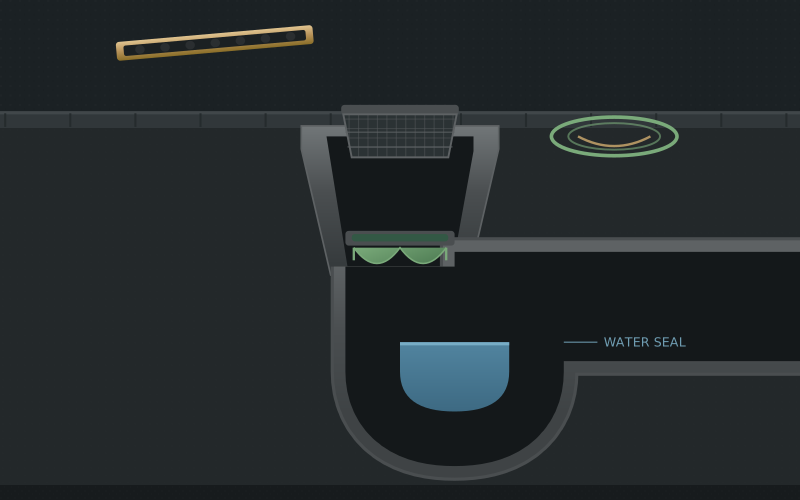
Flex it. Stiff, curled or torn means replace.
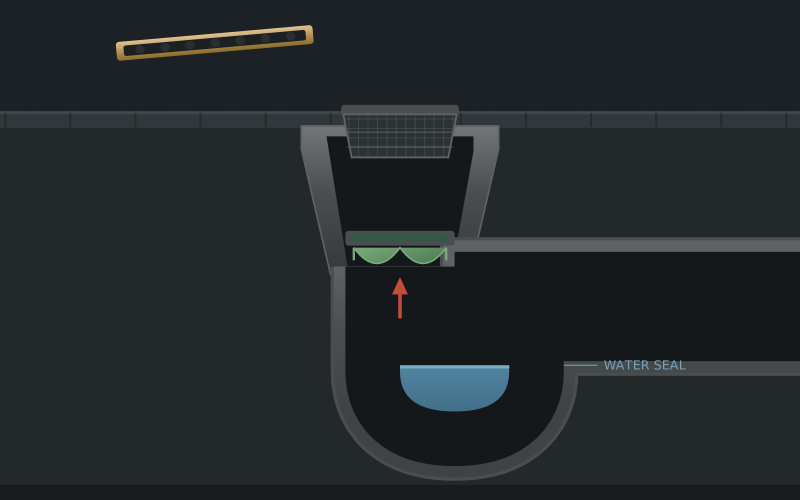 DON'T
Don't refit the flap backwards — it will not seal.
-
STEP 5
Clear the trap
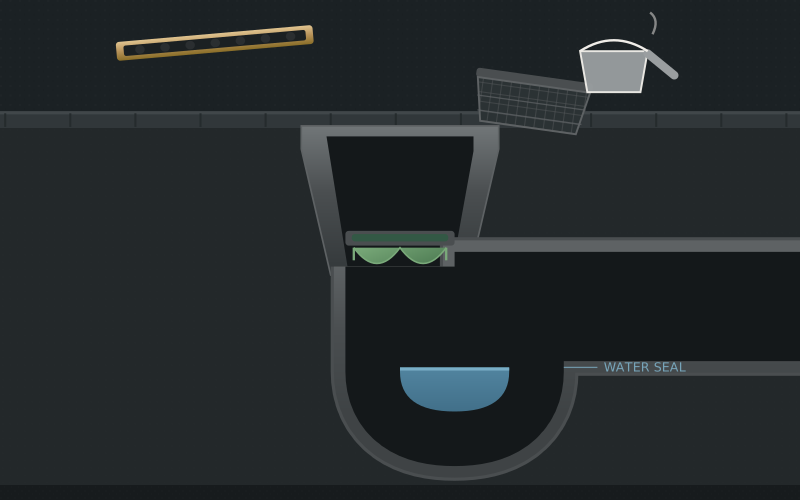
Boiling water first. Auger only if the water will not move.
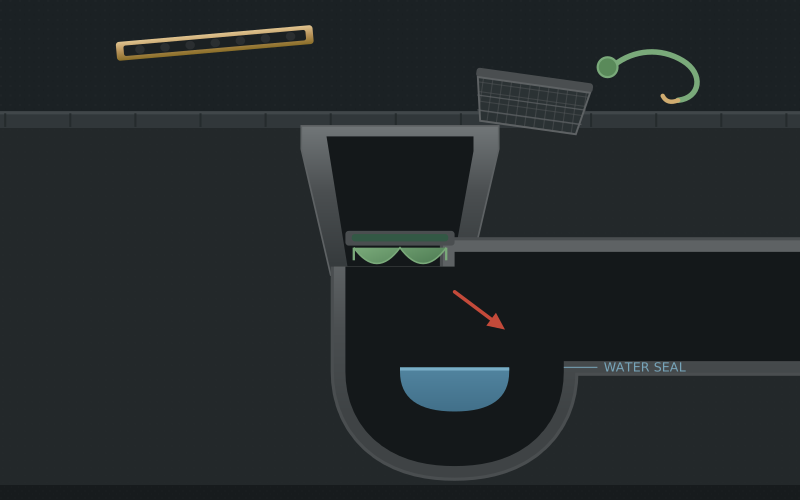 DON'T
Don't force an auger through a bend. Feed it slowly.
-
STEP 6
Test and prevent
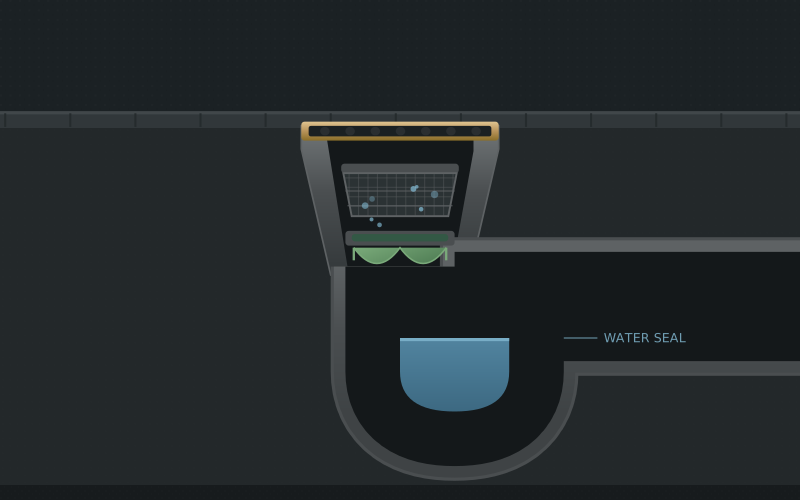
Full jug, clean swirl. Then cover on and kettle weekly.
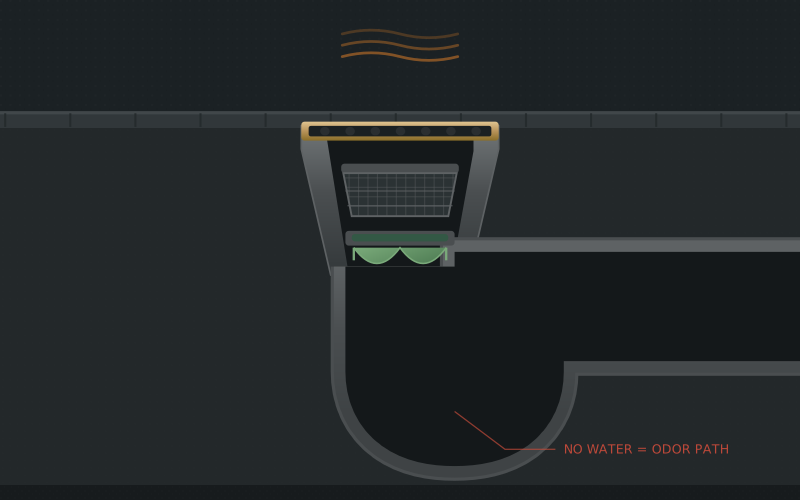 DON'T
Don't call it done before you have run a full jug through.
Next step
See the four layers move.
The teardown simulator pulls a floor drain apart, layer by layer, so you know exactly what you are reaching for before you reach for it.